Key Takeaways
Espoir Tone Pairing Cheek is one of those K-beauty products that actually makes sense in real life: you get two matte blush shades (base + point) and a jelly-style glow pan in one compact. My verdict is 8/10 because the pigmentation is strong and the look stays long when you layer it the right way.
Where to buy
Official shop link (easy for shade info + restocks).
| Retailer | Notes | Buy |
|---|---|---|
|
Amore Mall
Best option
|
Official Espoir storefront. Best for shade names + ingredient info. | Shop Tone Pairing Cheek → |
*Link may be an affiliate link. If you buy through it, I may earn a small commission at no extra cost to you.
What is Espoir Tone Pairing Cheek?
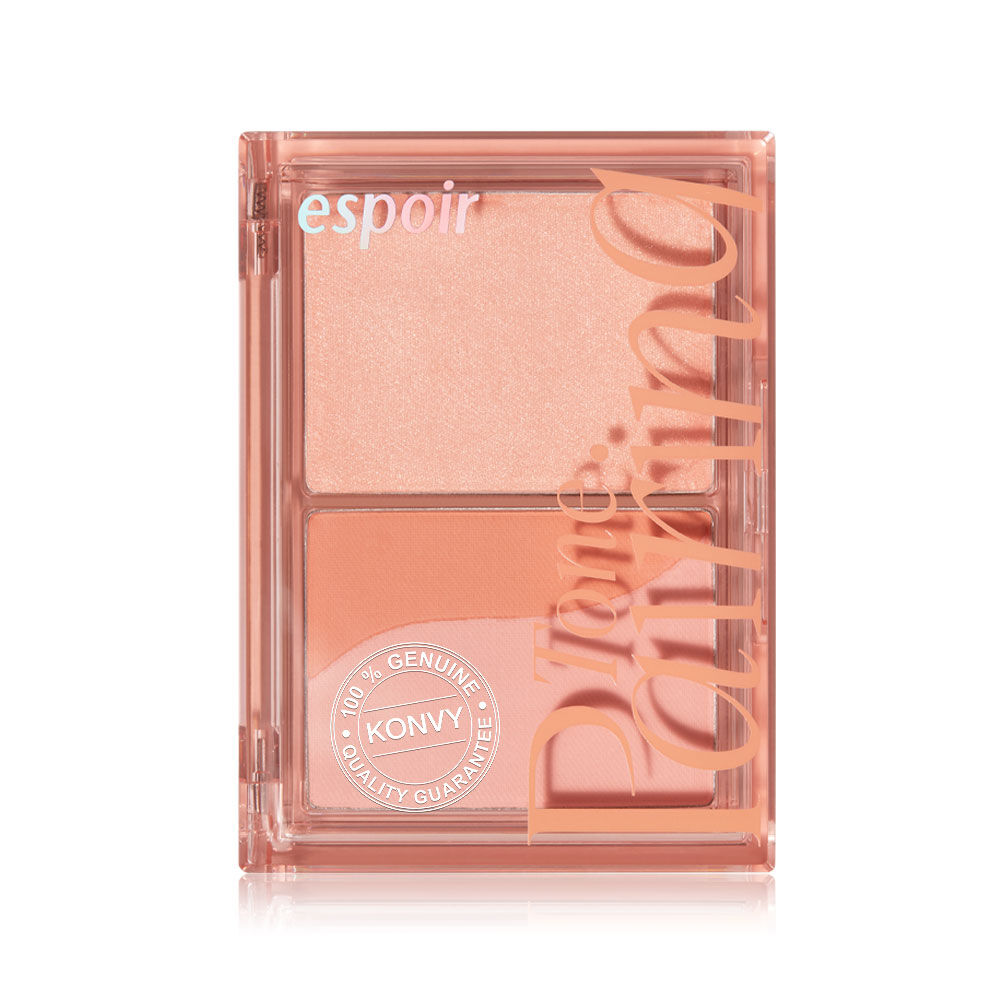
This is a three-pan cheek palette designed for a layered, dimensional look: a lighter matte "base" shade, a deeper matte "point" shade, and a jelly-style glow that sits somewhere between a glossy highlight and a soft glow topper.
I like this concept because it gives you control. You can do a very natural wash with the base shade only, or you can build a more sculpted cheek by adding the point shade in the right place. The glow pan is optional, but when used lightly it makes cheeks look fresh instead of flat.
My verdict: 8/10
My score is 8/10. The two things that stand out are: pigmentation (you don't need much) and staying power (it wears down nicely without turning patchy). It's not perfect for everyone, but if you like a "done" cheek that still looks natural, it's a strong buy.
How to use Espoir Tone Pairing Cheek (my method)
The best way to use this palette is to follow the "base → point → glow" logic. It sounds basic, but it makes the finish look intentional instead of like one flat stripe of color. If you want a complete step-by-step guide to blush placement and technique, check out my how to apply blush, bronzer and highlighter tutorial.
Step 1: Base shade (all-over blush)
Use a fluffy blush brush and tap off excess. Sweep the base shade over the cheek area where you naturally flush. Keep it soft. This is your "background" color.
Step 2: Point shade (depth + shape)
With a smaller brush (or the same brush, just less product), place the deeper matte shade slightly higher and more outward. Think: upper cheekbone, angled toward the temple. Blend into the base shade so there's no hard line.
Step 3: Jelly glow (the finishing touch)
For the glow pan, I prefer fingers because it melts in better. Tap a tiny amount on the high point of the cheekbone. If you're oily, keep it higher (cheekbone) rather than close to the center of the face where shine happens naturally.
Quick tip for oily skin
Apply the matte shades first, then do your base makeup set, then come back for the jelly glow as the last step. That way it looks "fresh," not greasy. If you need more oily-skin basics, I keep them here: makeup for oily skin.
Shades: how to choose the right one
Espoir markets this line with several shade options (you'll see names like Pink Icing, Peach Fizz, Violeta, and Rosette). The best way to choose is undertone first, then intensity.
If you have a cool undertone
- Pink Icing: clean, cool pink. Fresh and "bright."
- Violeta: lavender-toned and more "tone-up." Beautiful if you like a cooler, modern blush look.
If you have a warm undertone
- Peach Fizz: warm peach that looks alive and healthy.
- Rosette: warm-leaning rose that feels a bit more classic.
If you're neutral
Neutral undertones can usually wear any of them, so pick based on vibe: peach for "healthy warmth," pink for "bright," rosette for "romantic," violeta for "cool tone-up."
What's good about it?
What I Like
- Strong pigmentation: you don't need much product.
- Layering makes sense: base + point creates dimension fast.
- Long wear: fades evenly instead of disappearing in random patches.
- Travel-friendly: blush + glow in one compact.
- Flexible finish: matte-only or matte + glow depending on your mood.
What Could Be Better
- Easy to overdo: if you use a dense brush, it can look too strong fast.
- Glow pan isn't for everyone: if you hate any shine, you won't use that third shade.
- Placement matters: wrong placement = cheeks look heavy instead of lifted.
Texture + finish (what it actually looks like)
The matte pans are the "workhorse" here: they give you the color and the structure. The glow pan is more of a soft glossy highlight. It's not chunky glitter on the cheeks. If you apply a tiny amount, it reads like healthy, smooth light on the cheekbone.
If you want a more classic, separate highlighter vibe, you might prefer a dedicated highlighter formula instead. I reviewed a pretty one here: CLIO Prism Highlighter 01 Gold Sheer review.
How it wears (longevity + fading)
On my skin, the matte layers hold up well. The color doesn't just vanish. It fades more softly over the day, which is what you want from a cheek product. The glow can soften after several hours, but it doesn't usually turn weird or patchy as long as you apply it lightly.
For "hot day makeup," the biggest tip is simple: start lighter than you think, then build. It always looks more natural that way. If you want a full routine that survives sweat and humidity, this is my overview: best makeup for heat and humidity.
What's not good about it?
The only real "watch-outs" are about technique and preference. If you're heavy-handed, this palette will expose you. Pigmented blush looks cute in one swipe… until it doesn't.
Also: if you're a liquid blush only person, this might feel less "skin-like" compared to your favorite liquid formula. In that case, you might prefer something like: Ofelia Lolli liquid blush review.
Who should buy this?
- You want a one-compact cheek routine: blush + depth + glow without juggling products.
- You like buildable makeup: soft wash on weekdays, more definition on nights out.
- You care about wear time: a blush that stays longer and fades evenly.
- You like K-beauty "clean cheek" styling: lifted, fresh, not heavy.
Who should skip it?
- Strict matte-only: you'll pay for a glow pan you don't use.
- You only wear liquid blush: you may prefer a liquid's melt-in finish.
- You dislike layered techniques: you might want a single-pan "one swipe and go" blush.
How I pair it with base makeup (ESPOIR cushion combos)
I like pairing cheek products with base products from the same brand when the finishes make sense. If you're already looking at ESPOIR cushions, these are the two that most people compare:
- ESPOIR Be Natural Cushion review — more glow, more "skin-like" vibes.
- ESPOIR Be Velvet Cover Cushion review — more control, more stable for oily days.
Final thoughts (and my 8/10 verdict)
Espoir Tone Pairing Cheek is the kind of product I recommend when someone wants their cheeks to look naturally dimensional without needing three separate items. It's pigmented, it lasts, and it's easy to customize. My score stays at 8/10.
Maddie is here to share beauty knowledge and help you elevate your skincare and makeup routine. Love ya. 💕
Frequently Asked Questions
What is Espoir Tone Pairing Cheek?
It's a 3-pan cheek palette: a lighter matte base shade, a deeper matte point shade, and a jelly-style glow/highlight. The concept is layering for dimension and a natural flush in one compact.
How to use Espoir Tone Pairing Cheek?
Base shade first (all-over), point shade second (upper cheekbone for depth), then tap the jelly glow on the cheekbone. Keep it light and build gradually.
What is good about it?
It's pigmented, easy to layer, and it lasts long on my skin. I also love that it's travel-friendly: blush + dimension + glow in one.
What is not good about it?
It's easy to overapply if you use a dense brush, and the glow pan isn't for people who want a strictly matte cheek.
Who should buy this?
Anyone who wants a simple cheek routine that still looks dimensional, and anyone who cares about wear time. If you love liquid blush only, check this instead: Ofelia Lolli liquid blush review.

Disclosure: If you buy through links on my site, I may earn a small commission at no extra cost to you. I only recommend what I'd actually use.