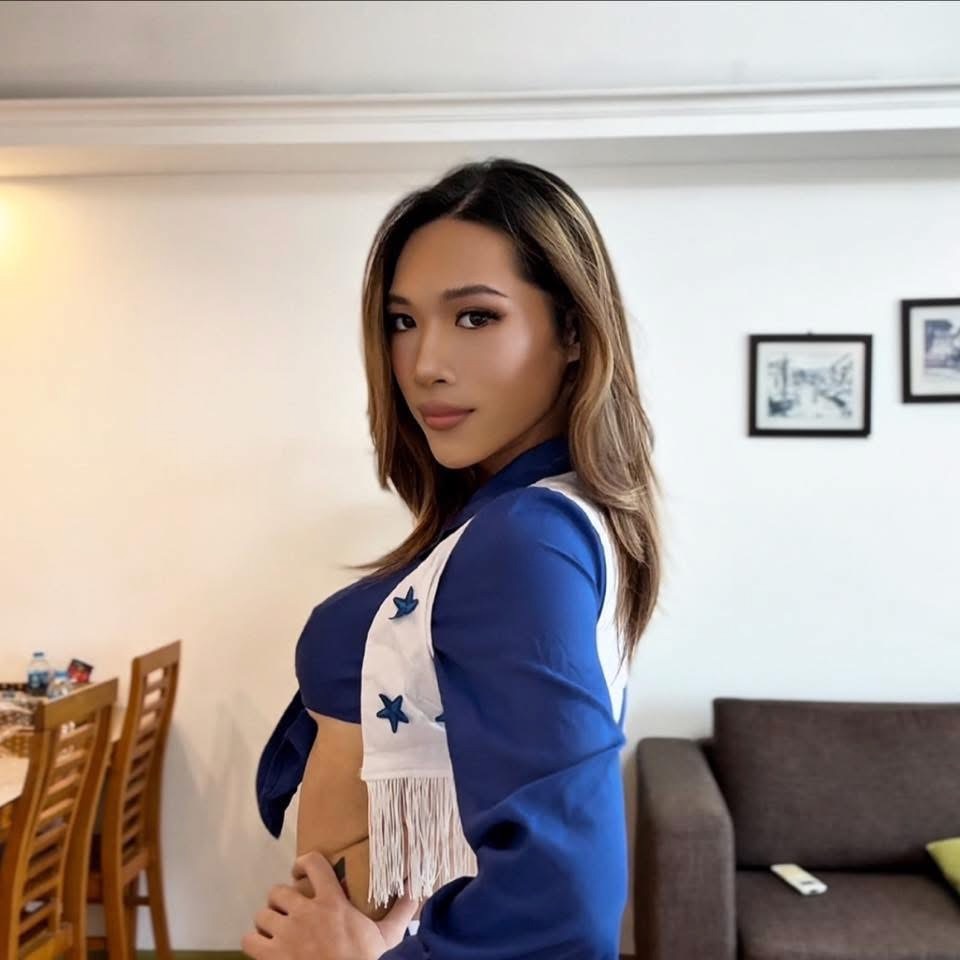
Quick Answer
If you want a natural, "real-life pretty" face (not harsh or glittery), follow this order: bronzer → blush → highlighter. Keep bronzer on sun-hit areas, keep blush higher on the cheeks for lift, and keep highlighter on the true high points in a small area so it looks like light—not texture.
- Prep + apply your base (foundation/tint)
- Bronzer: temples/hairline + upper cheek area (diffused)
- Blush: outer apple, blended up and back (lift)
- Highlighter: top of cheekbone only (tight placement)
- Blend edges with a clean brush
- Set strategically (only where you need it)
Most people don't "apply blush wrong." They just place it too low, use too much product at once, and then wonder why their face looks heavy or patchy. Same with bronzer: it's supposed to look like warmth, not a brown stripe. And highlighter is cute until it's sitting right on top of pores like a disco ball.
This guide is my complete, real-life method for how to apply blush, bronzer and highlighter so your skin looks fresh, lifted, and still like you. I'll show you placement that works, how to pick shades that don't turn orange or grey, and how to make it last without looking cakey.
Before we start: know your skin + base
Cheek products sit on top of your base. If your base is wrong (too dry, too slippery, wrong shade), your bronzer/blush/highlighter will never look "melted in." If you're unsure, start here: how to identify your skin type.
Bronzer vs Contour (Quick but Important)
Bronzer and contour aren't the same job. Contour creates shadow (structure). Bronzer creates warmth (sun). If your bronzer is super cool-toned and matte, it can read like contour. If your contour is warm, it can read like bronzer… and that's when people look muddy.
- Bronzer: warmth where you'd naturally tan (temples, hairline, upper cheeks, a touch of jaw).
- Contour: shadows where things naturally recede (hollows, under jaw, sides of nose). Matte and more neutral/cool.
I'm focusing on bronzer here, but if you want a more structured base before blush and highlight, a soft option like the Judydoll 2 in 1 Highlighter Contour Palette is easier to control than stronger contour products. If you want a super easy liquid sculpt instead, I use Sheglam Sun Sculpt Hazelnut Latte.
The #1 Rule: Product Order Depends on Texture
This is where most guides are too basic. The real rule is: creams first, powders last. If you put cream blush on top of powder bronzer, it can skip, lift product, or go patchy. (If you're looking for a great cream blush option with mixable shades, check out my Joocyee Cream Blush Duo review.)
My two best "orders" (choose one)
- All cream/liquid day: cream bronzer → liquid/cream blush → cream highlight → (optional) light powder set.
- Powder longevity day: base → light powder set in oily zones → powder bronzer → powder blush → powder highlight.
If you mix textures: do your creams first, set lightly, then dust powders on top.
Step 0: Shade Match Your Base (Because It Changes Everything)
If your foundation is too light or too dark, your bronzer will look weird and your blush will look "separate" from your face. This is why I'm strict about base matching before you start playing with cheek color.
If you struggle with this, read my guide: how to choose foundation shade.
Tools That Actually Matter (You Don't Need 20 Brushes)
You can do everything with 3 tools. The goal is control, not a drawer full of brushes.
- Bronzer brush: medium fluffy or slightly angled (diffuse, not sharp).
- Blush brush: soft, medium density (lets you build without dumping pigment).
- Highlighter brush: small fluffy or tapered (keeps placement tight).
For creams/liquids: fingers are fine, but a sponge gives the most "melted" finish. The trick is tapping—never dragging.
Step-by-Step: How to Apply Bronzer
Bronzer should look like you came back from a cute sunny day, not like you drew a brown shape on your face. The secret is placement and diffusion.
Pick the right undertone (avoid orange)
- Fair to light: neutral bronzers look most natural. Too warm turns orange fast.
- Medium: neutral-golden is usually safe. Avoid anything too red unless your skin is warm.
- Olive: bronzers that are too orange can look dirty—choose neutral or slightly golden.
- Deep: look for rich brown/bronze tones that add warmth without looking grey/ashy.
If you can only buy one, choose a bronzer that looks like "warm shadow," not pumpkin.
Place it where the sun hits (not the hollow)
Here's the face map I actually use:
- Temples + hairline: lightly sweep around the perimeter, blended into the hairline.
- Upper cheek area: brush over the top of the cheek, slightly above where contour would go.
- Jaw (optional): a soft sweep to balance the face, blended down into the neck.
Common bronzer mistake
Don't carve a diagonal stripe under the cheekbone with bronzer. That's contour placement. Bronzer belongs higher and softer.
Blend the edges first, then add depth
My method: apply a small amount, then immediately diffuse the edges with the same brush in small circles. Only after it looks soft do I add more.
- Powder: tap off excess first, then build in thin layers.
- Cream: warm it on the back of your hand, then tap onto the face.
If bronzer ever looks "dirty," it's usually too much pigment too quickly. Less, then build.
Step-by-Step: How to Apply Blush (Lift Edition)
Blush is the fastest way to make a face look alive. But placement decides whether you look lifted and fresh… or heavy and low.
Choose your blush vibe (natural vs statement)
- Natural flush: soft rose, peach, or muted berry that looks like your cheeks after walking outside.
- Lifted glam: slightly brighter blush placed higher (but blended well).
- Sun-kissed: "blonzing" style—blush blended into bronzer so it's one gradient.
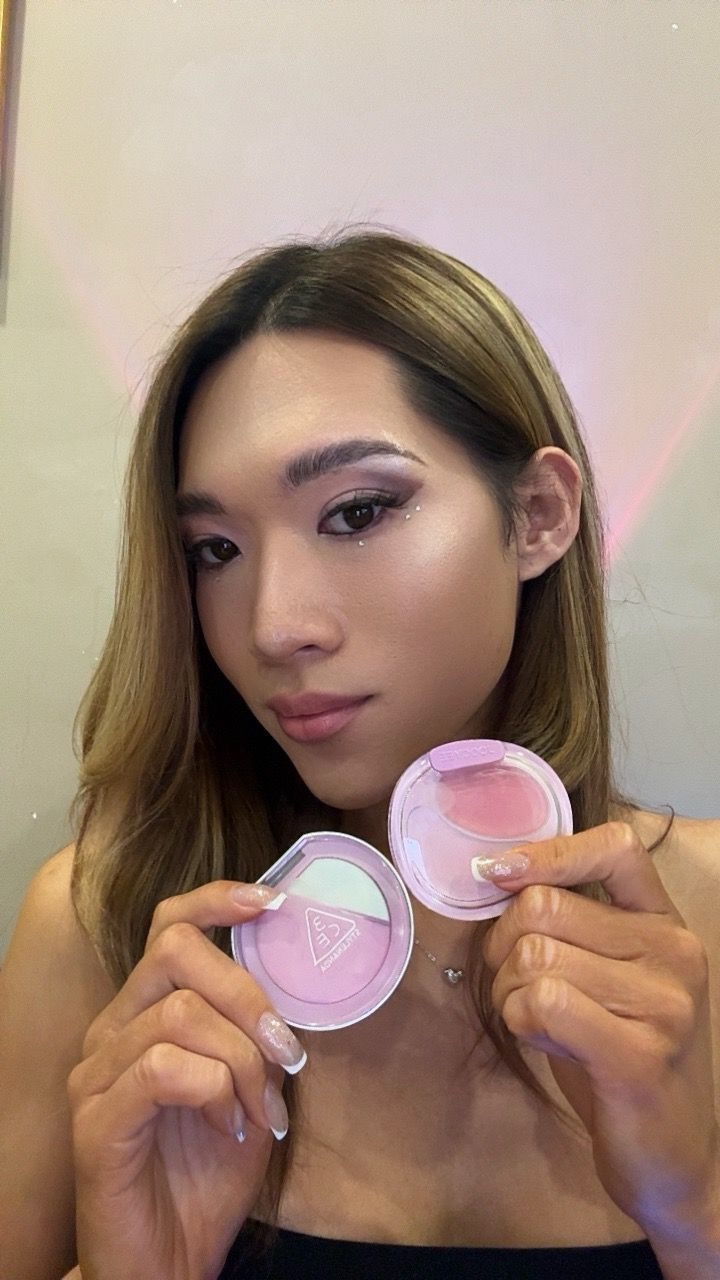
If you like a liquid blush that blends fast and looks like skin, I reviewed Ofelia Lolli Liquid Blush. For powder blush lovers who want built-in dimension, Espoir Tone Pairing Cheek is a 3-in-1 palette (base + point + glow) that makes layering easy.
For an affordable cream-stick option, I also reviewed the Wet n Wild MegaGlo Makeup Stick. It comes in blush, contour, highlight and concealer versions, so it is a useful example of how the same stick format can work differently depending on where you apply it.
Placement: outer apple, then up and back
This is my easiest placement rule:
- Find the outer apple of your cheek (not the center).
- Place blush there first.
- Blend up and back toward the temple (like a soft triangle).
Common blush mistake
If you place blush too close to the mouth or too low on the cheek, it can visually drag the face down. Keep it higher for lift.
Blend into bronzer so it looks intentional
The "secret sauce" is not perfect blush—it's the transition between bronzer and blush.
- After blush, take a clean fluffy brush and lightly buff the edge where bronzer meets blush.
- If blush looks too strong, tap over it with your sponge (with a tiny bit of leftover foundation) to soften.
When blush and bronzer blend into one gradient, your makeup instantly looks more expensive.
Maddie's Secret Tip: The Summer Forehead Flush
When I want to create a full summer look, I like to add a tiny bit of blush on my forehead too. It mimics that natural flush you get after being in the sun and makes the whole face look more cohesive. Just tap a little bit across the center of your forehead (where you'd naturally get sun) and blend it out softly. Don't overdo it—you want "cute day at the beach," not "I'm overheating."
Step-by-Step: How to Apply Highlighter (So It Looks Like Light)
Highlighter should look like light hitting your face, not like shimmer sitting on top of skin texture. The key is small placement and the right finish.
Pick the right finish (especially if you're oily)
- Finely-milled satin: best for daily wear and textured skin.
- Strong sparkle: fun for night, but it will show pores and bumps more.
- Cream highlight: most skin-like if applied thinly and tapped in.
If you want a gold highlight that's pretty but still wearable, my review is here: CLIO Prism Highlighter 01 Gold Sheer.
For a budget powder highlighter, the Wet n Wild MegaGlo Highlighting Powder is a good example of why placement matters. It can look pretty and lifted on the high cheekbones, but if you bring it too close to pores, texture or the center of the face, the shine can become more obvious.
Placement: tight and high
Use a small brush and keep it to the true high points:
- Top of cheekbone: not the center of your cheek—go higher.
- Brow bone (optional): tiny amount, blended.
- Nose (optional): a micro-touch on the tip or bridge if you like it.
- Cupid's bow (optional): only if you like a glossy lip moment.
Where NOT to highlight
Avoid areas with enlarged pores, active breakouts, or heavy texture. Shimmer doesn't hide texture. It makes it more visible.
Tap first, then blend the edge
Highlighter looks best when you tap it on (especially creams). After tapping, softly blend the edge only.
- Powder: pick up a tiny amount, tap the brush, then sweep once and stop.
- Cream: warm it up, tap with finger/sponge, then diffuse the outer edge.
If you can see an obvious "stripe" of highlight, you used too much or your placement is too low.
My "No Patchy Cheeks" Checklist
- Thin layers only: build slowly. The first layer should look like "barely there."
- Tap off powder: most people load too much on the brush.
- Blend with a clean brush: it's the easiest way to make everything seamless.
- Don't mix textures randomly: creams first, powders last.
- Check in daylight: warm indoor light hides harsh edges.
Longevity: How to Make It Last (Without Looking Heavy)
Long wear is mostly about prep + strategic setting. Not piling on product.
My longevity routine (works for oily skin too)
- Apply cheek creams in thin layers.
- Let them sit for 30–60 seconds.
- Lightly set oily zones with powder (don't bake your cheeks).
- If you need extra wear, add a light dusting of powder bronzer/blush on top.
Blonzing (Optional, But So Pretty)
If you want one cohesive "vacation face" look: blend your bronzer and blush into one gradient. It's the quickest way to look warm and healthy without obvious lines.
- Apply bronzer first (diffused).
- Place blush slightly above/inside the bronzer area.
- Use a clean fluffy brush to blur the transition until it looks like one finish.
Troubleshooting (Fast Fixes)
If your cheek makeup looks…
- Orange: bronzer is too warm. Swap to a more neutral tone or apply less.
- Grey/ashy: your bronzer/highlight undertone is off. Choose a warmer or more skin-matching finish.
- Muddy: you layered too much pigment. Tap over with sponge + leftover foundation to reset, then reapply lightly.
- Patchy: base is too dry or you mixed textures. Add moisture next time; keep creams together and powders together.
- Highlight shows pores: tighter placement + finer shimmer (or skip highlight on textured areas).
My Personal "Real-Life" Product Notes
I test products in real lighting and real conditions, not studio perfection. If you want to see exactly how specific formulas behave:
- My go-to easy sculpt: Sheglam Sun Sculpt Hazelnut Latte
- Liquid blush that's beginner-friendly: Ofelia Lolli Liquid Blush
- My gold highlight review: CLIO Prism Highlighter 01 Gold Sheer
If you take one thing from this guide, let it be this: less product + better placement beats heavy makeup every time. You want warmth (bronzer), life (blush), and light (highlighter)—but blended so softly that nobody can see where one starts and the other ends. Love ya. 💕
Frequently Asked Questions
What is the correct order to apply bronzer, blush, and highlighter?
For most people: bronzer first, then blush, then highlighter. If you mix creams and powders, apply creams first, set lightly, then add powders if you want more intensity or longer wear.
Where should bronzer be applied for a natural look?
Bronzer goes where the sun hits: temples/hairline and the upper cheek area. Keep it diffused and blended into the hairline so it reads like warmth, not a stripe.
Where should blush go to look lifted?
Keep blush higher on the cheek: start on the outer apple and blend up and back toward the temple. Placing it too low can drag the face down.
Where should I apply highlighter if I have texture or oily skin?
Use smaller placement on the very top of the cheekbone (not the center of the cheek). Avoid textured areas and choose a finer shimmer for a natural glow.
What's the difference between contour and bronzer?
Contour mimics shadow (structure) and is usually matte and neutral/cool. Bronzer adds warmth and is placed on high points where you'd tan.
How do I stop blush and bronzer from looking patchy?
Use thin layers, tap off excess powder, and blend edges with a clean brush. Don't apply cream products over heavy powder. If you used creams, set lightly before powders.
Do I need to set blush and bronzer with powder?
Not always. If you're oily or want longer wear, setting helps—especially over creams. If you're dry, set only where you crease and keep cheeks softer so your makeup still looks like skin.
How do I choose blush and bronzer shades that match my undertone?
Cool undertones often suit rosy/berry blush and neutral bronzers. Warm undertones suit peach/coral blush and golden bronzers. Olive undertones usually look best with neutral peach/rose blush and bronzers that aren't orange. Always check in daylight.